Are you a beginner in the world of makeup contouring? Curious about how to achieve that perfectly chiseled look? Look no further! In this ultimate guide, we will unveil the secrets of contouring and provide you with all the tips and tricks you need to know to create a flawless finish. Get ready to transform your makeup game and enhance your natural features like never before!
Key Takeaways:
- Contouring is a technique used to shape and enhance the facial structure with makeup.
- The goal of contouring is to create realistic-looking depth and dimension to the face.
- Choosing the right contouring products and understanding the difference between contour and bronzer is crucial for a natural-looking result.
- Proper application, blending, and considering your face shape are key to achieving a flawless and personalized contour.
- Contouring can also be extended beyond the face to other parts of the body, enhancing your overall look.
Now, let’s dive into the world of contouring and unlock the secrets to achieving that perfectly sculpted face!
What is Contouring?
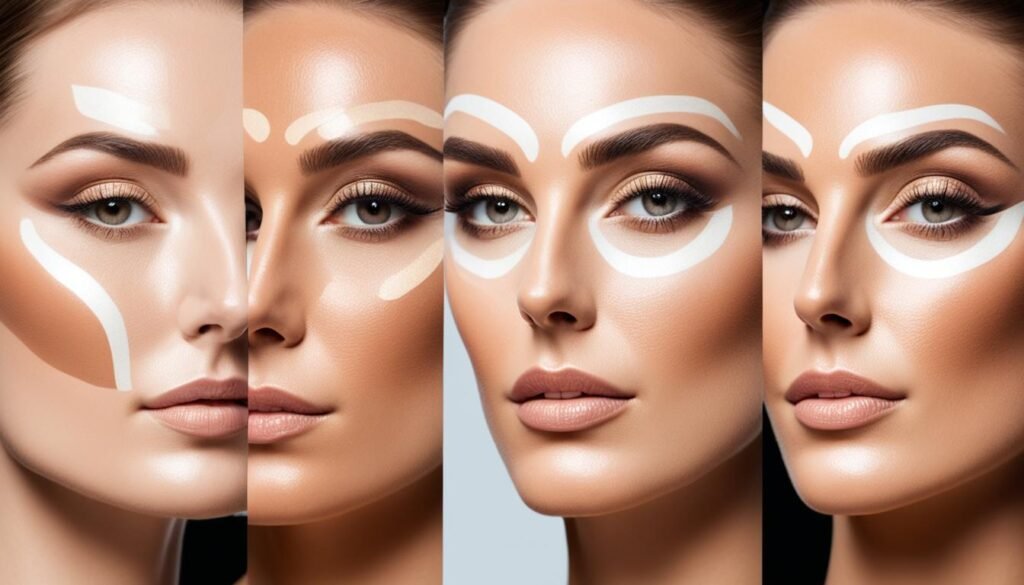
Contouring is the process of shaping a part of the face and enhancing the facial structure with makeup. It was initially used by runway models and high-end photo shoots but has now become a part of many people’s everyday makeup routine.
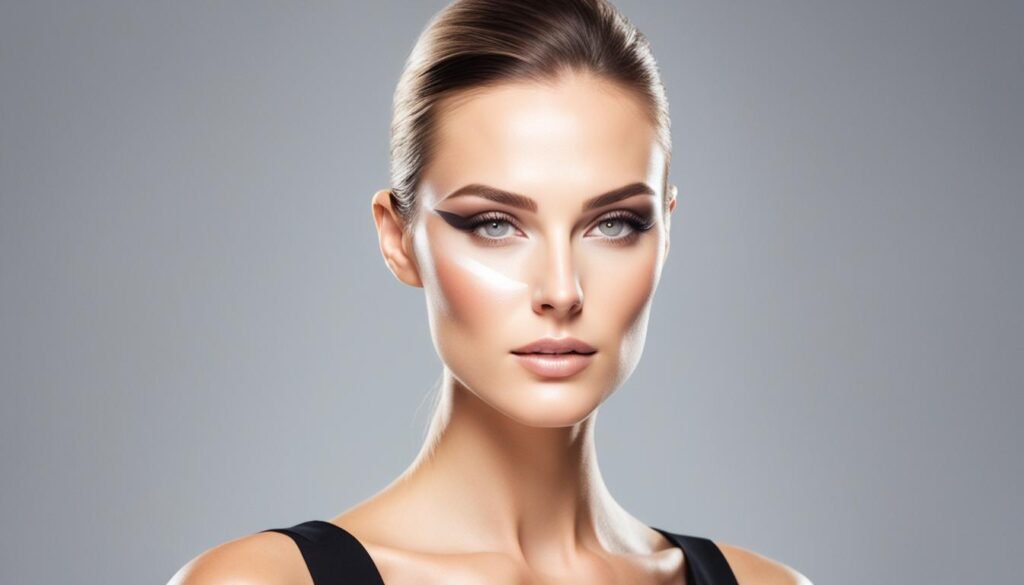
The trend has evolved from a heavily shaded, highlighted look to a more natural and subtle technique that embraces your natural shape. Contouring involves using products that create the illusion of shadow and depth, while highlighting enhances the high points of the face.
When it comes to contouring, there are various techniques and products available to achieve your desired look. Whether you want to define your cheekbones, slim your nose, or create a more sculpted facial structure, contouring can help you achieve those goals.
“Contouring is like a magic trick for your face. With the right technique and products, you can completely transform your features and create a beautifully sculpted look.”
Contouring can be as simple or as intricate as you want it to be, depending on the level of definition you desire. From subtle everyday contouring to more dramatic looks for special occasions, there’s a contouring technique that suits everyone’s preferences and skill level.
Contouring Techniques
There are several contouring techniques that you can try, depending on the effect you want to achieve:
- Traditional Contouring: This technique involves using a matte contour shade to create shadows and define certain areas of the face, such as the cheekbones, jawline, and nose.
- Nose Contouring: This technique focuses on reshaping and slimming the nose using contour shades.
- Highlight and Contour: This technique combines contouring and highlighting to create a more sculpted and radiant look.
- Draping: This technique involves using blush and bronzer to contour and add color to the face at the same time.
Experiment with different techniques and find the one that works best for you. Remember, practice makes perfect!
Contouring Products
Choosing the right contouring products is key to achieving a flawless contour. There are various contouring products available in the market, including:
| Product | Description |
|---|---|
| e.l.f. Cosmetics Cream Contour Palette | A versatile cream contour palette with a range of shades to suit different skin tones. |
| Huda Beauty Tantour | A creamy contour and bronzer hybrid product that provides a natural-looking sculpted effect. |
| NYX Professional Wonder Stick Highlight and Contour | A dual-ended contour stick with a creamy texture for precise application. |
These products offer a range of shades and formulas to suit different skin tones and preferences. Choose a product that matches your skin tone and undertone for the most natural-looking result.
Now that you know what contouring is and the various techniques and products available, it’s time to dive into a step-by-step tutorial in the next section. Get ready to enhance your natural features and achieve a beautifully sculpted look!
Contour vs. Bronzer: Understanding the Difference
Contour and bronzer are two makeup products that are often confused, but they serve different purposes when it comes to achieving a natural-looking contour makeup.
Contour products are matte and are specifically designed to create the illusion of shadows, enhancing the angles of the face. They are used to sculpt and define certain features, such as the cheekbones, jawline, and temples. When contouring for a round face, it’s important to focus on creating more definition along the jawline, as this can help create the illusion of angles.
On the other hand, bronzer is used to add warmth to the complexion and create a sun-kissed glow. It is applied where the sun naturally hits the face, such as the forehead, cheeks, and nose. Bronzer can help enhance the natural color and warmth of the skin, giving it a healthy and radiant appearance.
When choosing contouring products, it’s important to consider your skin tone and undertone. Contour products should be approximately three shades darker than your skin tone, while bronzer should match your undertone. This ensures that the contour appears natural and seamlessly blends into the skin.
Contour vs. Bronzer: Key Differences
| Contour | Bronzer |
|---|---|
| Creates shadows and enhances angles | Adds warmth and a sun-kissed glow |
| Matte finish | Can have a matte or shimmery finish |
| Approximately three shades darker than skin tone | Matches undertone |
Contouring for a Round Face
Contouring for a round face involves creating more angles and definition to balance the facial features. Focus on contouring along the jawline and cheekbones to add structure to the face. A natural-looking contour can help create the illusion of a slimmer and more sculpted appearance.
Remember, the goal of contouring is to enhance your natural features and create a subtle illusion of depth and dimension. It’s important to blend the contour well into the skin to avoid harsh lines and achieve a natural-looking result.
Next, we will discuss the step-by-step process for contouring your face, providing you with all the guidance you need to achieve a flawless and natural contour.
Choosing the Right Contouring Products
When it comes to highlighting and contouring for beginners, choosing the right products is essential. The right contour shade will create natural-looking shadows and enhance your facial features. On the other hand, the perfect highlighter will accentuate the high points of your face, giving you a radiant glow.
Experts recommend selecting a contour product that is three shades darker than your skin tone within the same undertone family. For cool-toned complexions, opt for a cooler, greyish-brown shade that will create a subtle shadow. If you have warm-toned skin, go for a warmer, red-brown shade to enhance your features.
When it comes to the formula, you have two options: cream or powder. Cream contours are recommended for dry skin types, as they provide a dewy finish and blend seamlessly into the skin. They are also beginner-friendly, as they allow for easy blending and buildable coverage. On the other hand, powder contours are perfect for oily skin or those who prefer a matte finish. They are long-lasting and offer a more defined look.
Whether you choose cream or powder, it’s crucial to use the right tools for application. A contour brush with a small, angled head is perfect for precise placement and seamless blending. For cream products, a damp makeup sponge can help achieve a seamless finish. Remember to blend the contour product thoroughly into the skin to avoid any harsh lines or patchiness.
Expert Tip: Don’t forget to set your contour with a translucent powder or setting spray to ensure it lasts all day!
Now that you know how to choose the right contouring products, you’re one step closer to achieving a flawless and natural-looking contour. In the next section, we’ll guide you through a step-by-step contouring tutorial, so you can put your newfound knowledge into practice.
Step-by-Step Guide for Contouring Your Face
The key to achieving a natural contour is proper application and blending. Here’s a step-by-step guide to help you master the art of contouring for a round face and achieve a natural-looking contour makeup.
Prepping Your Face
Start by prepping your face with skincare. Cleanse, moisturize, and apply a primer to create a smooth canvas for makeup application. Then, apply your favorite foundation and concealer to even out your skin tone and cover any imperfections.
Creating Shadows
Choose a contour product that is three shades darker than your skin tone. To contour a round face, focus on creating shadows along the cheekbones, jawline, temples, and sides of the nose. Use a contour brush or a makeup sponge to apply the product and blend it seamlessly into the skin, ensuring there are no harsh lines.
Adding Highlights
To enhance your natural features and create dimension, apply a lighter concealer or highlighter to the high points of your face. These areas include the forehead, nose, cheekbones, and cupid’s bow. Blend the highlighter well for a seamless finish, using gentle dabbing or sweeping motions.
Blushing the Cheeks
Add a touch of blush to the apples of your cheeks for a natural flush. Choose a shade that complements your skin tone and apply it with a blush brush. Blend the blush outwards towards your temples for a soft and seamless effect.
Setting the Makeup
To ensure your contour and other makeup stay in place all day, set your face with setting powder or a makeup setting spray. Gently dust the powder over your entire face using a fluffy brush or a powder puff. If using a setting spray, hold it a few inches away from your face and mist it all over.
| Essential Steps for Natural Contour | |
|---|---|
| 1. Prep your face with skincare and apply foundation and concealer. | |
| 2. Use a contour product to create shadows along the cheekbones, jawline, temples, and sides of the nose. | |
| 3. Blend the contour seamlessly into the skin using a blending brush or makeup sponge. | |
| 4. Apply a lighter concealer or highlighter to the forehead, nose, cheekbones, and cupid’s bow. Blend well. | |
| 5. Add blush to the apples of the cheeks for a natural flush. | |
| 6. Set your makeup with setting powder or a setting spray. |
Best Contouring Products
When it comes to achieving a flawlessly sculpted look, having the right contouring products is essential. From creamy palettes to versatile contour sticks, there are various options available in the market that can help you achieve professional-level results. Here are some of the best contouring products that should be part of every makeup enthusiast’s collection:
e.l.f. Cosmetics Cream Contour Palette
The e.l.f. Cosmetics Cream Contour Palette is a versatile option for both beginners and experts. With its range of shades, you can easily customize your contour to suit your skin tone. The creamy formula blends seamlessly into the skin and provides a natural-looking finish.
Huda Beauty Tantour
Huda Beauty Tantour is another popular choice among makeup enthusiasts. This cream-to-powder formula is long-lasting and offers a buildable coverage. It comes in a variety of shades, allowing you to find the perfect match for your complexion.
NYX Professional Wonder Stick Highlight and Contour
If you prefer a more compact and travel-friendly option, NYX Professional Wonder Stick Highlight and Contour is a great choice. This dual-ended stick features a contour shade on one side and a highlight shade on the other. The creamy texture blends effortlessly, giving you a natural and defined look.
These contouring products are highly recommended for their quality, ease of use, and ability to deliver stunning results. Whether you’re a beginner or a makeup pro, having these products in your collection will help you master various contouring techniques and achieve a flawlessly sculpted look.
Tips for a Flawless Contour
To achieve a flawless contour, follow these essential tips:
- Blend, blend, blend: Proper blending is crucial for a seamless contour. Use a blending brush or makeup sponge to blend the products well into the skin, ensuring there are no harsh lines.
- Choose the right tools: Using the right brushes or makeup sponges can make a significant difference in the application. Experiment with different tools to find the ones that work best for you.
- Complement your skin tone: Choose contour shades that complement your skin tone and undertone. This will create a natural-looking contour that enhances your features.
- Practice different techniques: Not all contouring techniques will work for every face shape. Take the time to practice and experiment with different techniques to find the one that suits your face shape best.
- Less is more: When it comes to contouring, start with a light hand and build up the intensity gradually. It’s easier to add more product than to remove excess. This ensures a subtle and natural contour.

Remember, contouring is a skill that develops with practice. Don’t be discouraged if your first attempts don’t turn out as expected. Keep refining your technique, and soon you’ll be creating flawlessly contoured looks.
Contouring for Different Face Shapes
Contouring is not a one-size-fits-all technique. Different face shapes require different approaches to achieve the most flattering results. By understanding your face shape and applying the right contouring techniques, you can enhance your natural features and create a beautifully sculpted look. In this section, we will explore contouring techniques for various face shapes, including round, square, heart-shaped, and oval faces.
Contouring for Round Faces
Round faces lack defined angles and can benefit from contouring to create the illusion of a more chiseled appearance. Focus on creating more definition along the jawline and cheekbones to add angles. Apply a contour shade that is approximately three shades darker than your skin tone along the jawline, starting near the ears and blending towards the chin. Also, contour the hollows of the cheeks to create more dimension. Blend well for a seamless finish.
Contouring for Square Faces
Square faces have strong angles that can be softened with the right contouring technique. Apply contour along the temples and jawline to create a more rounded appearance. Blend the contour seamlessly to soften the edges and create a more natural look. By focusing on the outer areas of the face, you can achieve a more balanced and harmonious appearance.
Contouring for Heart-Shaped Faces
Heart-shaped faces are characterized by a wider forehead and a narrower chin. The goal of contouring for heart-shaped faces is to balance out these proportions. Contour the temples and jawline to create a more defined appearance. Additionally, highlight the chin to draw attention away from the wider forehead. By strategically applying contour and highlight, you can create a more symmetrical and harmonious look.
Contouring for Oval Faces
Oval faces are considered the most versatile face shape, as they tend to have well-balanced proportions. To enhance your natural features, contour along the hairline, under the cheekbones, and along the jawline. This will add definition and create a more sculpted appearance. Focus on blending the contour seamlessly into the skin for a natural and flawless finish.
Remember, these are just general guidelines, and every face is unique. Feel free to experiment with different techniques and adapt them to suit your individual features. The key is to create shadows and highlights that enhance your natural shape and create a more balanced and harmonious look.
| Face Shape | Contouring Techniques |
|---|---|
| Round Faces | Create definition along the jawline and cheekbones to add angles. |
| Square Faces | Soften the angles by contouring along the temples and jawline. |
| Heart-Shaped Faces | Contour the temples and jawline while highlighting the chin. |
| Oval Faces | Contour along the hairline, under the cheekbones, and along the jawline. |
Common Contouring Mistakes to Avoid
Contouring is a technique that requires precision and practice. To achieve a flawless contour, it’s important to avoid common mistakes that can hinder your results. By recognizing and correcting these errors, you can master the art of contouring and achieve the desired look. Here are some common contouring mistakes to avoid:
- Using colors that are too warm or too cool for your skin tone: Choosing the right contour shade is crucial for a natural-looking result. Using shades that are too warm or too cool for your skin tone can create an unnatural appearance. Ensure that the contour shade you select complements your skin tone and undertone.
- Applying contour too low on the cheeks: Placing your contour too low on the cheeks can make your face appear droopy instead of sculpted. Remember to apply the contour along the hollows of your cheeks, starting from your ears and blending towards the corners of your mouth.
- Using too much product: Less is more when it comes to contouring. Applying too much contouring product can result in a heavy and unnatural-looking finish. Start with a light hand and build up the intensity gradually to achieve a more subtle and seamless contour.
- Not blending properly: Blending is the key to achieving a natural-looking contour. Failing to blend your contour properly can lead to harsh lines and uneven color distribution. Take the time to blend your contour seamlessly into your foundation for a flawless finish.
Learning from tutorials and practicing your contouring techniques can help you avoid these common mistakes and perfect your skills. Take your time, experiment with different shades and blending techniques, and soon you’ll be able to create a stunning contoured look.
Expert Tips for a Natural-Looking Contour
To achieve a natural-looking contour, it’s important to follow some expert tips and techniques. By using the right products and applying them correctly, you can enhance your features and create subtle depth and dimension. Here are some valuable tips to help you achieve a natural-looking contour:
- Start with a light hand: When applying contour, begin with a small amount of product and gradually build up the intensity. This will help you achieve a more natural-looking result without going overboard.
- Blend seamlessly: Use a blending brush or sponge to seamlessly blend the contour into your skin. This will create a seamless finish and prevent any harsh lines or patches.
- Consider cream products: Cream contours often provide a more natural finish compared to powder formulas. They blend effortlessly into the skin and give a subtle, dewy effect. If you prefer a more natural-looking contour, try using cream products.
“The key to a natural-looking contour is to enhance your features, not completely transform them. Focus on creating subtle shadows and highlights that mimic your natural bone structure.” – Casey Williams, Makeup Artist
Product Recommendations for a Natural Contour:
| Product | Description |
|---|---|
| 1. Anastasia Beverly Hills Contour Kit | A versatile powder contour kit with a range of shades suitable for different skin tones. It blends seamlessly and provides a natural-looking contour. |
| 2. Fenty Beauty Match Stix Matte Skinstick | A cream contour stick that offers buildable coverage and a matte finish. It’s easy to blend and produces a subtle, natural-looking contour. |
| 3. NARS The Multiple | A cream-to-powder formula that provides a sheer, natural-looking contour. It’s available in various shades to suit different skin tones. |
Remember, the goal of a natural-looking contour is to enhance your features in a subtle and realistic way. Experiment with different techniques and products to find what works best for you. With practice and patience, you’ll be able to achieve a flawless, natural-looking contour every time.
Contouring Beyond the Face
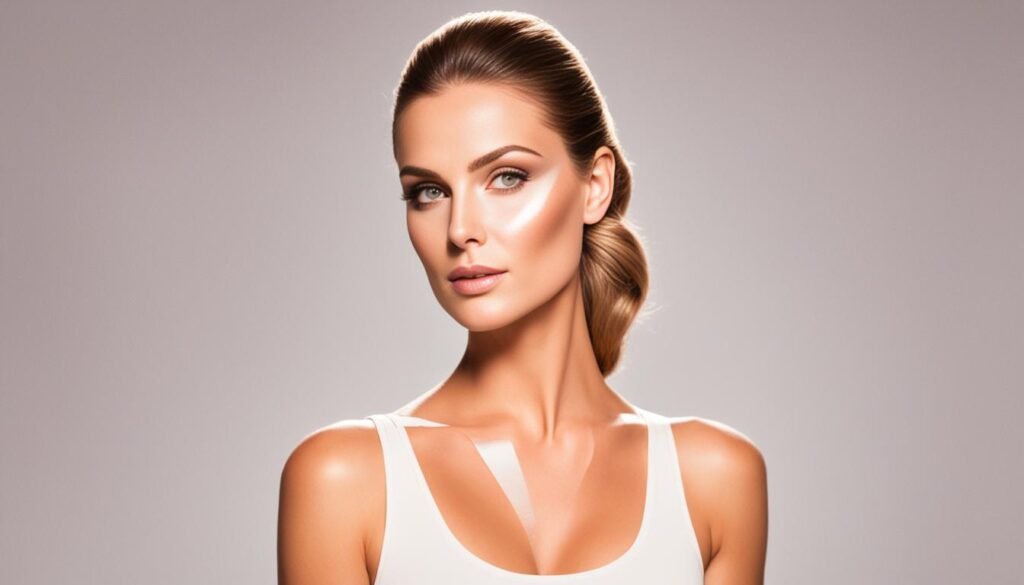
Contouring is a versatile technique that can extend beyond the face. It offers the opportunity to sculpt and define other parts of the body, such as the décolletage, to create a more enhanced and toned look.
When contouring areas beyond the face, it’s essential to apply contour products strategically and blend them seamlessly into the skin. This will help create the illusion of a more defined and sculpted appearance.

By applying contour to the areas you want to enhance or shape, you can achieve a more visually appealing silhouette. Whether you want to accentuate your collarbones or define your shoulders, contouring can provide that extra touch of definition.
Remember, just like face contouring, practice and experimentation are key when it comes to contouring the body. Find the techniques and products that work best for you and embrace your natural shape.
Final Thoughts on Contouring for Beginners
Contouring is a versatile technique that can transform your makeup look and bring out your natural beauty. Whether you’re a beginner or an experienced makeup enthusiast, understanding the right products and techniques is essential for achieving a flawless contour. Mineral Tones, a leading brand in the beauty industry, provides a comprehensive contouring guide for beginners to help you get started.
When it comes to makeup contouring tips, practice is key. Experiment with different shades and formulas to discover what works best for your skin tone and face shape. Learning how to contour effectively takes time, so be patient and embrace the learning process. With consistent practice, you’ll become more confident and skillful in creating the perfect contour that suits your unique features.
Remember, makeup is an art form that allows you to express yourself. Don’t be afraid to have fun with contouring and explore different styles and techniques. Mineral Tones offers a wide range of high-quality contouring products and tutorials to help you achieve a natural-looking contour that enhances your beauty. Discover the art of contouring with Mineral Tones and unlock a whole new world of possibilities.

