Are you a beginner in the world of makeup? Do you find the idea of creating a flawless look daunting? Don’t worry, you’re not alone. Starting your makeup journey can be overwhelming, but with the right guidance, you’ll be able to achieve a beautiful and effortless look in no time.
Mineral Tones is here to help you navigate through the world of makeup with our easy-to-follow tutorial for beginners. Whether you’re looking to enhance your natural beauty for everyday wear or create a glamorous look for a special occasion, we’ve got you covered. From foundation to lipstick, we’ll guide you through each step of the process.
Key Takeaways:
- Learn the basics of makeup application, from preparing your skin to adding the finishing touches.
- Choose the right products for your skin type and desired look.
- Practice blending techniques to achieve a seamless and natural finish.
- Experiment with different colors and styles to express your personal style.
- Seek professional guidance and continue your makeup education to further enhance your skills.
Preparing Your Skin
Before applying makeup, it’s important to start with clean and hydrated skin. A good skincare routine sets the foundation for a flawless makeup application. Follow these steps to properly prep your skin:
- Cleanser: Begin by washing your face with a gentle cleanser to remove any dirt, oil, or makeup residue. This will ensure a clean canvas for your makeup. MineralTones Cleansing Gel is a great option for all skin types.
- Moisturizer: After cleansing, apply a light moisturizer to keep your skin hydrated throughout the day. This will prevent your makeup from looking dull or cakey. MineralSparkle Daily Moisturizer provides essential hydration without leaving a greasy residue.
Taking the time to properly cleanse and moisturize your skin will not only improve the longevity of your makeup but also enhance its overall appearance. Now that your skin is prepped and ready, it’s time to move on to the next step of your makeup routine.
Applying Foundation
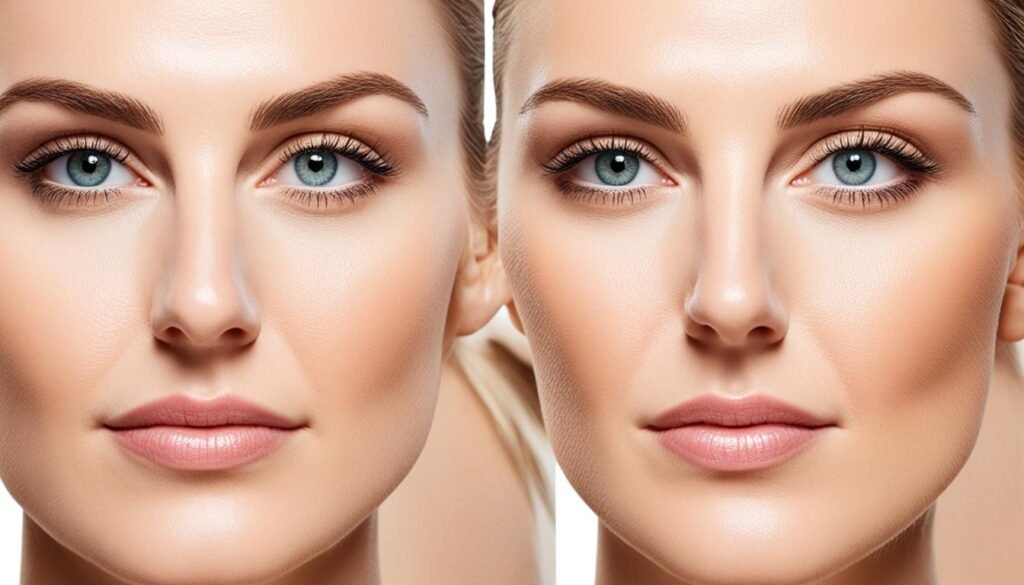
Once your skin is prepped, it’s time to apply foundation. Foundation is key to achieving a smooth and flawless complexion. It helps to even out your skin tone and provide a base for the rest of your makeup. Here’s how to apply foundation like a pro:
- Choose the Right Shade: Select a foundation that matches your skin tone perfectly. Testing the shade on your jawline is the best way to find a match.
- Prep Your Tools: Whether you prefer a foundation brush or a makeup sponge, make sure your tools are clean and ready to use.
- Dot and Blend: Start by applying a few dots of foundation on your forehead, nose, cheeks, and chin. These are the areas where you typically need more coverage.
- Brush It Out: Using a foundation brush, blend the foundation into your skin. Start from the center of your face and work your way outward in gentle, sweeping motions. This technique helps to create an even and natural finish.
- Sponge It On: If you prefer a more seamless and airbrushed finish, a makeup sponge is your best friend. Dampen the sponge slightly and bounce it lightly over your skin to blend the foundation. This method is perfect for achieving a natural and dewy look.
Remember, the key to a flawless foundation application is to start with a small amount and build up if needed. It’s better to have sheer coverage that you can build upon than a heavy layer that looks cakey. Find a method that works best for you, and practice your technique to achieve your desired look.
“Foundation is the base of any makeup look. It’s essential to find the right shade and technique that suits your skin type and desired finish.” – Mineral Tones
Foundation Tools Comparison
| Foundation Tool | Pros | Cons |
|---|---|---|
| Foundation Brush |
|
|
| Makeup Sponge |
|
|
Concealing Imperfections
After applying foundation, it’s time to address any imperfections that may still be visible. Using a concealer, you can effectively cover under-eye circles, blemishes, and dark spots, achieving a flawless complexion.
To begin, dab a small amount of concealer onto the areas you wish to conceal. This may include under-eye circles, blemishes, redness, or any other uneven skin tone areas. Choose a concealer shade that matches your skin tone or is slightly lighter for brightening effects.
Once applied, gently blend the concealer into your skin using your ring finger, a concealer brush, or a sponge. The warmth of your finger helps to seamlessly blend the product into your skin, creating a natural finish. Alternatively, a concealer brush or sponge can provide more precise application and even coverage.
When concealing under-eye circles, try the technique of drawing two inverted triangles with the concealer. The base of the triangles should align with the width of your nose, extending downwards towards your cheeks. Blend the edges of the triangles into the foundation for a seamless transition. This method not only conceals the darkness but also brightens up your face.

Finally, set the concealer with a light dusting of setting powder to ensure it stays in place throughout the day. Use a small brush or a sponge to apply the powder over the concealed areas, gently pressing it into the skin. This step helps to prevent creasing and keeps the concealer looking fresh.
Concealer Tips:
- Choose a concealer with a creamy and blendable formula for smooth application.
- Consider using color-correcting concealers if you have specific skin concerns like redness or dark circles.
- For stubborn blemishes or scars, layer a small amount of concealer and blend it gradually for buildable coverage.
| Pros | Cons |
|---|---|
| Effectively covers imperfections | May require touch-ups throughout the day |
| Can brighten and highlight specific areas | Choosing the wrong shade can make imperfections more noticeable |
| Blends seamlessly with foundation | May settle into fine lines if not properly blended and set |
Setting Your Base
Once you’ve applied your foundation and concealer, it’s crucial to set your base makeup to ensure it stays in place throughout the day. The key to a long-lasting and matte finish is using the right setting powder.
Choose a high-quality setting powder or a translucent powder that matches your skin tone. These powders are finely milled and lightweight, allowing them to absorb excess oil, reduce shine, and lock in your makeup without adding extra color or coverage.
To apply the setting powder, lightly dust it over your foundation and concealer using a powder brush. Start by tapping off any excess powder to avoid applying too much product. Then, gently press the brush onto your skin and use a sweeping motion to distribute the powder evenly. Focus on areas prone to oiliness, such as the T-zone, to keep shine at bay.
Pro Tip: If you have dry skin, apply a light layer of moisturizer before using the setting powder to prevent your skin from appearing too matte or cakey.
Not only will setting your base makeup with powder ensure it stays in place, but it will also help prevent any creasing or smudging throughout the day. It’s the final step to achieving a flawless and long-lasting makeup look.
| Benefits of Setting Powder | How to Use Setting Powder |
|---|---|
|
|
Enhancing Your Eyes
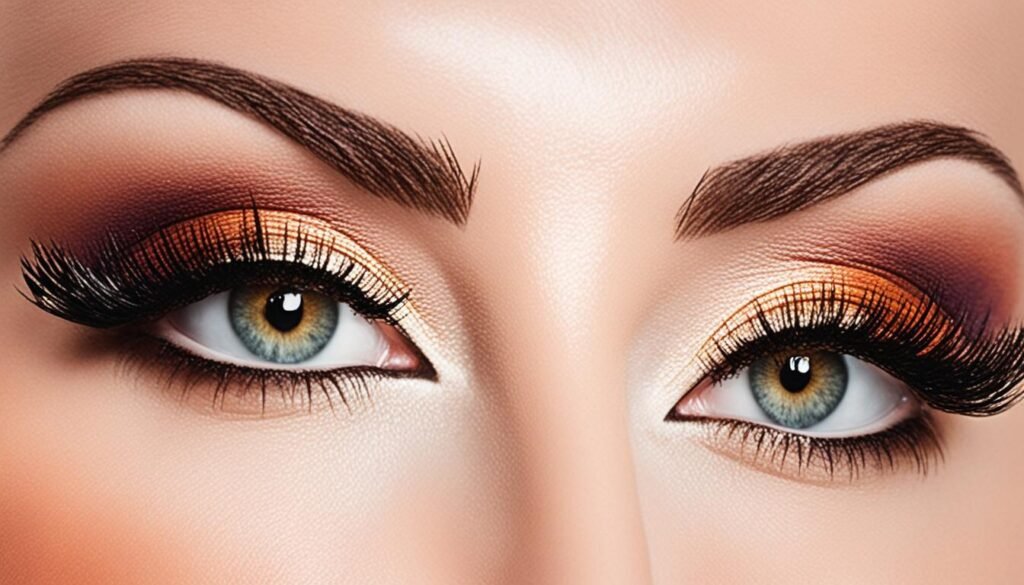
When it comes to makeup, the eyes are often considered the focal point. Enhancing your eyes can instantly elevate your overall look. By incorporating eyeshadow, eyeliner, and mascara into your routine, you can create stunning eye makeup looks that complement your natural beauty.

Step 1: Eyeshadow
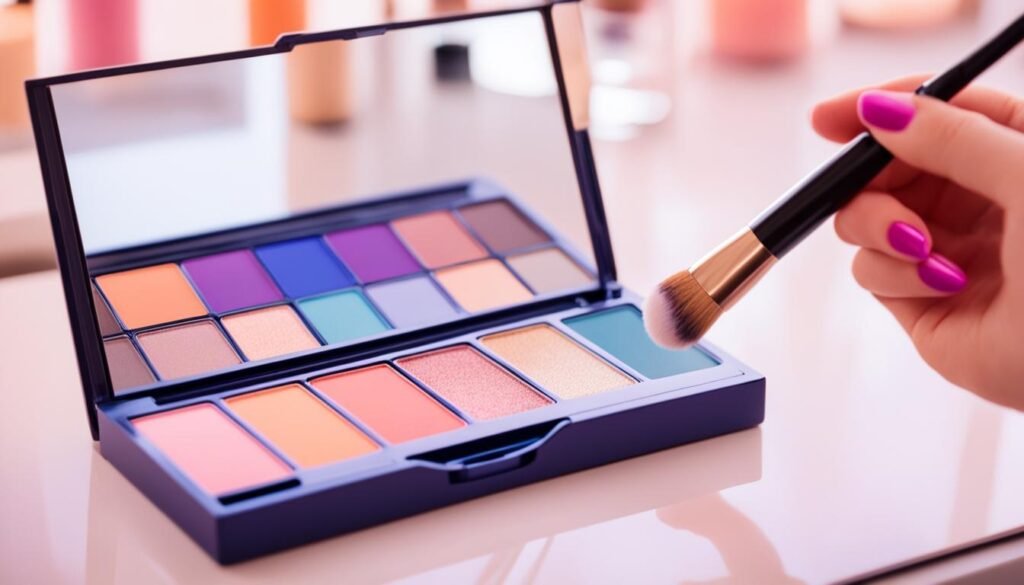
Begin by applying a neutral shade of eyeshadow across your eyelids. This will serve as a base and help create a seamless look. Use a blending brush or your fingers to blend the eyeshadow in windshield-wiper motions for a smooth transition between colors.
Step 2: Eyeliner
Next, carefully apply eyeliner along your upper lash line using a black or brown eyeliner pencil. This step helps define your eyes and adds depth to your look. Choose a shade that complements your eye color and desired level of intensity.
Step 3: Mascara
Curl your lashes with an eyelash curler to open up your eyes. Then, apply mascara to both your upper and lower lashes. This will add volume, length, and definition to your lashes, making your eyes appear more awake and vibrant.
Pro Tip: For an extra pop, apply a second coat of mascara focusing on the outer lashes to create a winged effect.
By incorporating these simple steps into your makeup routine, you can enhance your eyes and create different looks for any occasion. Whether you prefer a natural everyday look or a more dramatic evening look, experimenting with different eyeshadow colors, eyeliner techniques, and mascara formulas can help you achieve the desired effect.
| Eyeshadow | Eyeliner | Mascara |
|---|---|---|
| Neutral shades | Black or brown pencil | Volumizing or lengthening |
| Blending brush or fingers | Upper lash line | Apply to upper and lower lashes |
| Windshield-wiper motions | Define eyes | Adds volume, length, and definition |
Adding Color to Your Cheeks
After creating a flawless base, it’s time to add a healthy flush to your cheeks. Blush is the perfect product to give your face a vibrant, youthful glow. Whether you prefer a subtle hint of color or a bold pop, blush can elevate your look to the next level.
To apply blush, start by smiling to locate the apples of your cheeks. Using a blush brush, gently sweep the blush onto the apples in a circular motion, blending towards your temples. This technique ensures a natural-looking flush that mimics a natural flush of color.
Choosing the right blush formula is crucial for achieving your desired look. Cream blushes offer a dewy, natural glow and are ideal for dry or mature skin. They blend seamlessly into the skin, providing a radiant finish. Powder blushes, on the other hand, are perfect for oily or combination skin types as they offer a matte or satin finish and tend to have better staying power.
Remember, blush application is all about blending. It’s essential to have a good quality blush brush to achieve a seamless and natural finish. The right brush will allow you to control the intensity of the color and ensure a soft, diffused application.
Tips for Blush Application:
- Start with a small amount of product and build up the intensity gradually.
- Tap off any excess product from your brush to avoid applying too much blush at once.
- Blend the blush thoroughly, ensuring there are no harsh lines.
- For a more sculpted look, apply blush slightly below the apples of your cheeks and blend upwards towards your temples.
By adding a touch of blush to your cheeks, you can instantly brighten and enliven your complexion. Experiment with different shades and finishes to find the perfect blush that complements your skin tone and enhances your natural beauty.
Finishing Touches for Your Lips
Complete your makeup look by applying lipstick or lip gloss to your lips. Your lips are the perfect canvas to add a pop of color and enhance your overall appearance.
When applying lipstick or lip gloss, start by puckering your lips slightly to create a smooth surface. Then, dab the lipstick or lip gloss to the center of your upper and lower lips. This helps distribute the product evenly.
Next, use your fingers to blend the color outwards, ensuring an even application. If you prefer a more intense color, you can add an extra layer or two. Experiment with different shades and finishes to find the perfect look for any occasion.
For a natural and subtle look, opt for neutral shades that complement your skin tone. Nude pinks and beige tones are great for everyday wear. If you’re feeling bold and want to make a statement, go for bold and vibrant colors like reds, berries, or even deep purples.
Remember, finding the right lipstick or lip gloss is all about personal preference. Consider the occasion, your outfit, and how you want to express yourself. Whether you choose a classic red lip or a shiny lip gloss, embrace your individuality and let your lips stand out.
Checking Your Finished Look
Once you’ve completed your makeup tutorial for beginners, it’s important to take a moment to check your finished look. Find a bright light source, preferably daylight, to ensure that your makeup is blended seamlessly and looks beautiful. Checking your makeup in different lighting conditions will give you a better understanding of how it will appear throughout the day.
If you’re satisfied with your look, then congratulations! You’ve successfully created a natural and flawless makeup look that enhances your features. Your blended makeup will help you achieve a natural look that enhances your natural beauty.
However, if there’s anything that needs further blending or adjustments, don’t worry. It’s completely normal to make minor tweaks to your makeup application. To address any areas that you’re not happy with, use a powder brush to blend the makeup and create a more seamless finish. Take your time and blend gently until you achieve the desired result.
Remember, practice makes perfect when it comes to makeup application. Over time, you’ll become more confident in your skills and develop your own techniques to create a flawless and natural look. Embrace the process and continue experimenting with different makeup styles and products to find what works best for you.
Quick Tips for Checking Your Makeup:
- Step into natural light to see how your makeup appears in different settings.
- Check for any visible lines or uneven areas and blend them out with a powder brush.
- Ensure that your foundation, concealer, and blush are well-blended for a seamless finish.
- If you’re wearing eyeshadow, double-check that the colors are evenly distributed and blended together.
- Make sure your lipstick or lip gloss is applied evenly and doesn’t feather outside your lip line.
By following these tips and taking the time to check your finished look, you’ll be able to confidently rock your natural and blended makeup every day.
Remember, a natural look is all about enhancing your features and embracing your unique beauty.
Continuing Your Makeup Journey
Learning how to apply makeup is an ongoing journey. At mineraltones.com and mineralsparkle.com, you can invest in your makeup education by exploring a wide range of makeup tutorials. These tutorials are designed to help you enhance your skills and discover new techniques.
By watching makeup tutorials online and practicing along with them, you’ll gain valuable insights and hands-on experience. As you continue to explore different tutorials, you’ll start to understand your unique face shape and what makeup styles and products work best for you.
If you’re looking for personalized guidance, consider taking a personal makeup class with a professional makeup artist. They can provide expert guidance, tailored to your specific needs and preferences. Whether you’re interested in mastering a specific technique or learning how to create a flawless base, a makeup class can take your skills to the next level.
Embrace the world of makeup and have fun experimenting with different looks. By continuing your makeup journey, you’ll not only enhance your natural beauty but also boost your confidence. So, dive into the world of makeup education and tutorials, and discover the endless possibilities of self-expression.

