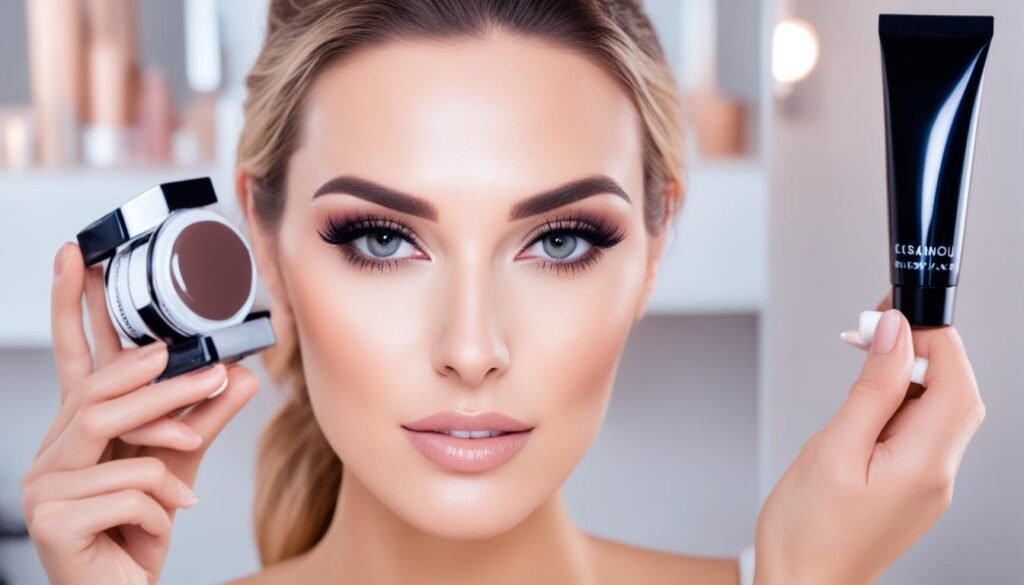
Do you ever wonder how professional makeup artists and influencers capture those flawless makeup pics and mesmerizing tutorial videos? The secret lies in their knowledge of makeup photography tips, video editing techniques, and the art of creating captivating beauty content. Whether you’re a makeup enthusiast or aspiring content creator, this article will equip you with expert advice to elevate your makeup visuals to the next level.
Key Takeaways:
- Learn how to master lighting for makeup pics and videos, whether using natural or artificial sources.
- Discover the best angles to showcase your makeup, from close-up shots to full-face visuals.
- Explore posing techniques that engage viewers and enhance your makeup videos.
- Uncover video editing tips to enhance your visuals and create polished content.
- Understand the importance of skin preparation and flawless foundation application for stunning makeup visuals.
Mastering Lighting: The Key to Great Makeup Visuals
Lighting plays a crucial role in capturing great makeup visuals. Whether you’re taking makeup pics or shooting makeup videos, getting the lighting right can make a world of difference. The right lighting enhances the colors, textures, and overall impact of your makeup looks.
When it comes to lighting for makeup pics, natural light is generally the best option. It provides a soft, even illumination that beautifully showcases the details and nuances of your makeup. Look for a location with open shade or a window with ample natural light. Position your subject facing the light or slightly turned away from it, while placing yourself between the subject and the light source. This arrangement helps to minimize harsh shadows and ensure an even distribution of light.
If natural light is not available or sufficient, don’t worry! You can still achieve stunning makeup visuals with artificial lighting setups. Experiment with different types of artificial lights, such as ring lights or softboxes, to find the setup that works best for you. Just make sure the artificial light is not too harsh or too dim, as it can affect the color accuracy and overall quality of your visuals.
When shooting makeup videos, it’s important to consider the lighting not only for visual appeal but also for clarity and ease of following along. Ensure that your lighting setup evenly illuminates your face and the products you’re using. This will help your viewers see the details of your application techniques clearly.
Remember, good lighting is all about finding the right balance. Avoid shooting in harsh direct sunlight, as it can create unflattering shadows and wash out the colors. Similarly, shooting in dimly lit rooms can make it difficult to capture the true colors and details of your makeup. So, whether you’re using natural or artificial light, aim for a soft and diffused illumination.
Mastering lighting is an essential skill for creating stunning makeup pics and videos. By understanding how lighting affects your visuals, you can create eye-catching looks that truly shine.
Framing Your Shots: Choosing the Best Angles for Makeup Pics
The angle at which you capture your makeup pics can greatly impact the overall look. Experiment with different angles to find the most flattering ones for showcasing the details of the makeup. Close-up shots can highlight intricate eye or lip looks, while full-face shots give a comprehensive view of the overall makeup. It’s important to find the right balance between capturing the details and showing the entire face.
When it comes to capturing the best angles for makeup pics, consider the following tips:
- For close-up shots of makeup, focus on the eyes or lips to highlight intricate details. Use a macro lens or get closer to your subject to capture the fine craftsmanship of the makeup look.
- Experiment with different angles to find the most flattering ones for your face shape. Angling the camera slightly upwards can help elongate the neck and create a more slimming effect.
- Try different perspectives like shooting from above or below to add variety to your makeup pics. This can give your audience a unique perspective and showcase the makeup in a fresh and creative way.
- Don’t be afraid to play with lighting and shadows to enhance the depth and dimension of your makeup pics. Soft, diffused lighting can help minimize imperfections and create a more flattering look.
Remember, the best angles for makeup pics may vary depending on the individual’s features and the specific makeup look. Take the time to experiment and find what works best for you and your unique style.

By carefully framing your shots and choosing the best angles, you can capture stunning makeup pics that showcase the artistry and creativity of your makeup looks.
Posing Techniques for Engaging Makeup Videos
When it comes to creating makeup videos, the right poses can make all the difference. It’s not just about showcasing your makeup techniques, but also engaging with your audience through confident and captivating poses. Here are some posing techniques that will help you create compelling beauty content:
Showcasing the Makeup Techniques:
Experiment with different poses that allow you to highlight the makeup techniques you’re demonstrating. Whether it’s a precise eyeliner application or a flawless foundation blending, choose poses that effectively showcase the key steps of your makeup routine. Consider close-up shots that zoom in on your face or utilize hand gestures to draw attention to specific areas or actions.
Maintaining Eye Contact:
Engage with the camera and your audience by maintaining eye contact throughout your video. Look directly into the lens as if you’re having a conversation with your viewers. Eye contact creates a personal connection and helps establish a sense of trust and authenticity. Remember to smile and project enthusiasm to further engage your audience.
Using Hand Gestures:
Hand gestures can be powerful tools for emphasizing your actions and drawing attention to specific makeup techniques. Incorporate gestures that complement your movements, such as pointing to your eye when applying eyeshadow or swiping your finger across your lips when showcasing a lipstick application. This will help make your video more dynamic and visually engaging.
Projecting Confidence:
Confidence is key when creating engaging makeup videos. Believe in your skills and let your passion for makeup shine through. Stand tall, maintain good posture, and exude confidence in your poses. Your audience will be more drawn to your content when they can sense your self-assurance.
By incorporating these posing techniques into your makeup videos, you can create visually appealing content that not only showcases your makeup skills but also captivates and engages your audience.
| Posing Technique | Description |
|---|---|
| Showcasing the Makeup Techniques | Experiment with poses that effectively highlight the key steps of your makeup routine, such as close-up shots or hand gestures. |
| Maintaining Eye Contact | Engage with your audience by maintaining eye contact with the camera, creating a personal connection. |
| Using Hand Gestures | Incorporate hand gestures that emphasize your actions and draw attention to specific makeup techniques. |
| Projecting Confidence | Stand tall, maintain good posture, and exude confidence in your poses to captivate your audience. |
Enhancing Your Makeup Visuals: Video Editing Tips
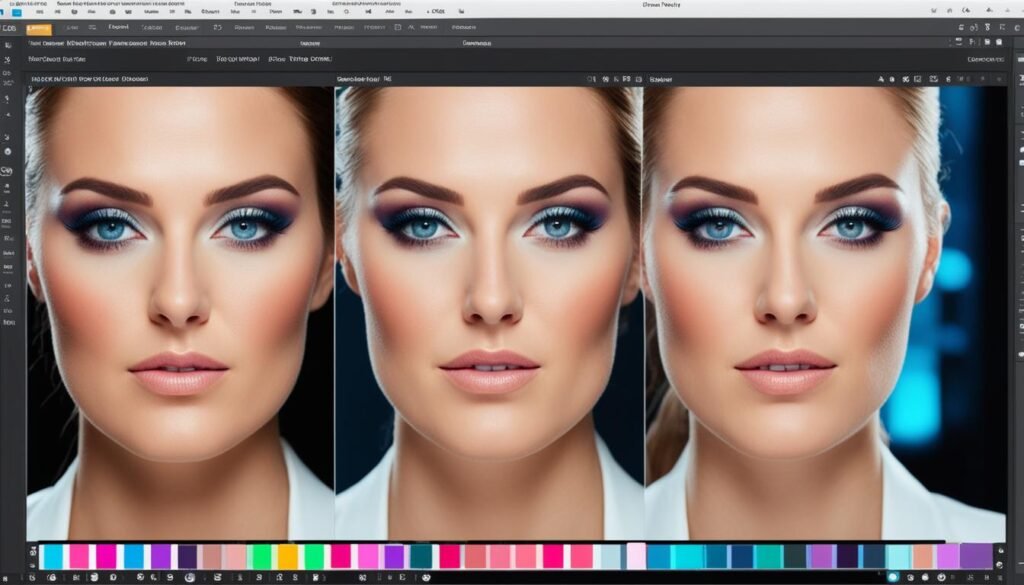
Now that you’ve captured your stunning makeup videos, it’s time to take them to the next level through the art of video editing. With the right techniques and software, you can enhance the visuals and create a polished final product that captivates your audience.
When it comes to makeup video editing, there are several tips and strategies to keep in mind:
Trimming Unnecessary Footage
Start by reviewing your footage and removing any unnecessary clips that don’t contribute to the overall flow and message of your video. This will streamline your content and keep viewers engaged.
Adjusting Color and Lighting
During the editing process, you have the power to adjust the color and lighting of your video to enhance the makeup visuals. You can make colors pop, correct any uneven lighting, and achieve a consistent and balanced look throughout your video.
Adding Effects
Consider adding effects to elevate the visual impact of your video. This can range from subtle enhancements, such as softening skin tones or adding a subtle glow, to more creative effects that emphasize specific makeup techniques.
Transitions and Pacing
Pay attention to the transitions between clips and the overall pacing of your video. Smooth transitions and a well-paced flow will help maintain viewer engagement and create a professional and seamless viewing experience.
Captions and Text Overlays
Incorporating captions and text overlays can provide additional information, highlight key points, or showcase specific makeup products and techniques. This text-based content can enrich your video and make it more accessible to a wider audience.
Experiment with different editing techniques and styles to find what works best for your makeup content. Remember, the goal is to enhance the visuals while maintaining the authenticity of your content and showcasing your unique beauty expertise.
Nurturing a flawless and vibrant online presence is key to success in the beauty industry. At mineralsparkle.com, we believe that every makeup artist deserves to shine through captivating visuals. That’s why we offer a wide range of high-quality makeup products that will make your videos truly stand out. Visit our website and let your creativity flow!

Preparing Your Canvas: Skin Prep for Makeup Visuals
Before creating your makeup visuals, it’s crucial to prepare your skin. By following a thorough skincare routine and properly prepping your skin, you can achieve a flawless and long-lasting makeup application. Here are some essential steps to include in your skin prep for makeup:
- Remove any old makeup: Start by gently removing any remnants of previous makeup. Use a gentle makeup remover or micellar water to ensure a clean canvas for your new look.
- Wash your face: Cleanse your face using a mild cleanser that suits your skin type. This will remove any dirt, oil, or impurities that can interfere with the makeup application.
- Moisturize: Apply a lightweight, hydrating moisturizer to nourish your skin and create a smooth base for the makeup. Choose a moisturizer that suits your skin type, whether it’s dry, oily, or combination.
- Use a gripping primer: A primer can help your makeup adhere better and last longer throughout the day. Look for a gripping primer that creates a smooth surface for makeup application and helps to minimize the appearance of pores.
Properly prepping your skin not only enhances the overall look of your makeup visuals but also ensures that the application is easier and more seamless. It’s important to note that every individual’s skin is unique, so experiment with different skincare products to find what works best for you.
Remember, taking care of your skin is essential for a healthy and radiant complexion. Incorporating a consistent skincare routine into your daily life will not only benefit your makeup visuals but also contribute to the long-term health and vitality of your skin.
Achieving Flawless Foundation: Tips for Makeup Visuals
Foundation sets the base for your makeup visuals, so it’s important to apply it flawlessly. Choosing the right foundation is key to achieving a seamless and natural look in your makeup pics and videos. Here are some tips to help you achieve a flawless foundation application:
- Choose the Right Shade: When selecting a foundation, match it to your skin tone to ensure a seamless blend. Consider visiting a makeup counter or using online shade matching tools.
- Opt for a Satin Finish: Foundations with a satin finish tend to look best on camera as they provide a natural-looking glow without appearing too matte or dewy.
- Application Tools: Use a foundation brush or a damp beauty sponge to apply your foundation. These tools help achieve a smooth and even application, ensuring that your skin looks flawless.
- Blend into Neck and Ears: To avoid any visible demarcation lines, make sure to blend the foundation into your neck and earlobes. This creates a seamless transition and ensures that your skin looks consistent from face to body.
- Color Corrector and Concealer: If you have any specific areas of concern such as blemishes or dark circles, consider using a color corrector and concealer to even out your skin tone. Apply these products after your foundation for targeted coverage.
By following these tips, you’ll be able to achieve a flawless foundation application for stunning makeup visuals. Remember, a well-prepped and flawlessly applied foundation serves as the canvas for the rest of your makeup look.
Adding Depth and Definition: Contouring and Highlighting for Makeup Visuals
Contouring and highlighting techniques are essential for achieving a sculpted and dimensional look in your makeup visuals. By strategically using contour and highlight products, you can create depth and definition on the face, enhancing your overall makeup appearance.
When it comes to contouring, choose a powder or cream shade that is slightly darker than your skin tone. Apply it along the hollows of your cheeks, under the cheekbones, along the sides of your nose, and under the jawline. This will create shadows and help minimize certain areas of the face, accentuating your bone structure.
On the other hand, highlighting is all about enhancing the high points of your face. Use a highlighter shade that complements your skin tone and has a radiant finish. Apply it to the tops of your cheekbones, down the bridge of your nose, on the brow bone, and on the cupid’s bow above the upper lip. This will add luminosity and bring attention to these areas, giving your makeup a radiant and glowing effect.
Combining contouring and highlighting techniques allows you to sculpt your features and create dimension, resulting in makeup visuals that are both stunning and impactful. Experiment with different products, formulas, and application techniques to find what works best for you.
“Contouring and highlighting techniques are essential for achieving a sculpted and dimensional look in your makeup visuals.”
Contouring and Highlighting Product Recommendations:
| Contour Products | Highlight Products |
|---|---|
| 1. Anastasia Beverly Hills Contour Kit | 1. Becca Shimmering Skin Perfector |
| 2. Fenty Beauty Match Stix Matte Skinstick | 2. MAC Cosmetics Mineralize Skinfinish |
| 3. NYX Professional Makeup Highlight & Contour Pro Palette | 3. Laura Mercier Matte Radiance Baked Powder |
Remember, practice makes perfect when it comes to contouring and highlighting. Take the time to experiment and find the techniques and products that work best for your unique features and makeup style.
Perfecting the Details: Eyes, Brows, and Lips for Makeup Visuals
The eyes, brows, and lips are crucial focal points in makeup visuals. To create captivating makeup pics, it’s essential to emphasize the eyes, define the brows, and showcase the lips. Let’s dive into each element:
Emphasizing the Eyes in Makeup Pics
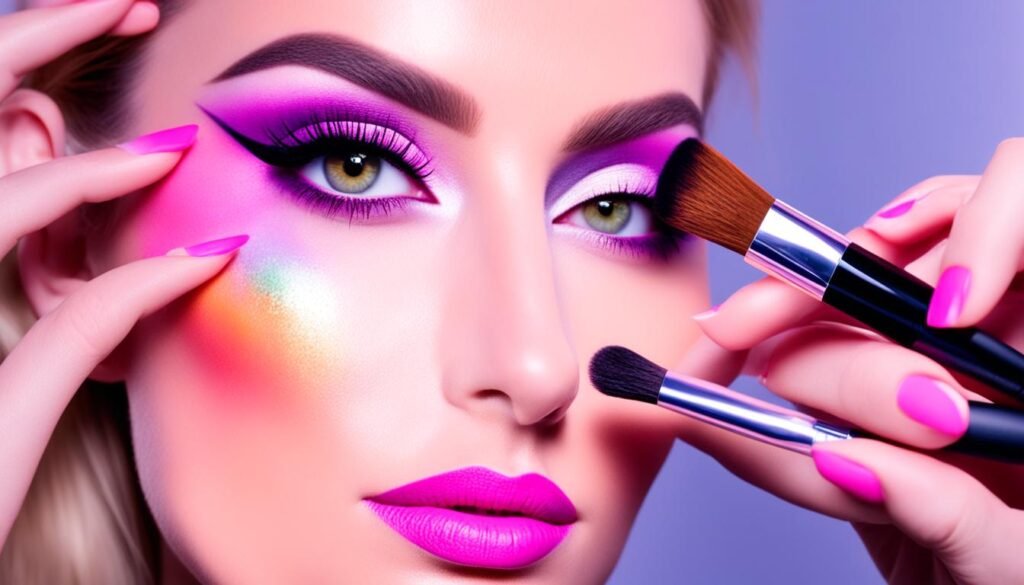
When it comes to makeup visuals, the eyes are often the star of the show. To create depth and dimension, experiment with eyeshadow techniques. Blend different shades to achieve a seamless transition and create an eye-catching look. Whether you prefer a smoky eye or a vibrant colorful look, pay attention to the details to make your eyes the highlight of your makeup visuals.
Defining Brows for Makeup Visuals
Brows play a crucial role in framing the face and enhancing the overall makeup look. To define your brows in makeup visuals, choose a brow product that matches your natural hair color. Fill in any sparse areas with light strokes, following the natural shape of your brows. Ensure that your brows are well-groomed, neatly arched, and symmetrical, creating the perfect frame for your face.
Showcasing Lips in Makeup Visuals
Your lips deserve attention in makeup visuals. To showcase your lips, choose a lipstick shade slightly darker than your natural lip color, allowing them to stands out. If you aim for defined and precise lips, consider using a lip liner to outline and fill in your lips before applying lipstick. This will create a more polished and finished look in your makeup visuals.
Now that you know the importance of emphasizing the eyes, defining the brows, and showcasing the lips, it’s time to bring all these elements together in your makeup visuals. Pay attention to the details, experiment with different techniques, and create stunning makeup pics that truly highlight your unique style and personality.
Final Touches: Setting Your Makeup for Long-Lasting Visuals
To ensure your makeup visuals stay flawless and camera-ready throughout photoshoots and filming sessions, setting your makeup is a crucial step. By using a combination of setting powder and setting spray, you can create a long-lasting and fresh look that withstands different lights and conditions.
Start by applying a thin layer of setting powder to your face, focusing on areas prone to creasing, such as the under-eye area and T-zone. The setting powder helps to absorb excess oil and sweat, preventing your foundation and concealer from budging while maintaining a matte finish. For high-quality setting powders, consider using products from trusted brands like Mineral Tones or Mineral Sparkle.
Afterward, complete your makeup routine by spritzing a makeup setting spray all over your face. The setting spray acts as a sealant, locking in your makeup and providing extra staying power. It also helps to melt all the layers together, creating a cohesive and polished look. Look for setting sprays that are specifically formulated for long-lasting wear.
By incorporating these final touches into your makeup routine, you can be confident that your makeup visuals will stay in place and look flawless from start to finish. Whether you’re in front of the camera or attending a special event, setting your makeup ensures that your hard work and artistry shine through.

